
How to Do a Clutch Master Cylinder Replacement in 2026?

Time:2026-10-28 Author:Madeline
0%

A Clutch Master Cylinder Replacement can look simple on a repair invoice. In the workshop, it is a hydraulic diagnosis, not merely a parts swap. S&P Global Mobility’s 2024 vehicle-age analysis reported that the average U.S. light vehicle was about 12.6 years old. Older vehicles often hide brittle hoses, contaminated fluid, and worn slave cylinders. That context matters.

“Diagnose before you replace,” says automotive educator EricTheCarGuy, a practical rule for hydraulic clutch repairs. The quotation is short. The inspection is not. A soft pedal may come from trapped air, a leaking line, a failing slave cylinder, or incorrect adjustment. Replacing the master cylinder alone may leave the original fault untouched. That is an expensive lesson.

This guide explains the Clutch Master Cylinder Replacement process with workshop-level caution. It covers symptom verification, fluid inspection, bench bleeding, installation, bleeding methods, and post-repair testing. The exact procedure varies by vehicle. Always compare the service manual’s specifications with the replacement part. Some models require scan-tool procedures or clutch-position calibration after installation.

Look for dampness above the pedal. Check the firewall. Watch the reservoir level. Small details matter.

The Auto Care Association’s industry research also reflects a growing maintenance challenge as vehicles remain in service longer. That does not prove every clutch problem needs a new master cylinder. It does reinforce the need for careful diagnosis. I have seen clean-looking repairs fail because one air pocket remained in the line. No repair guide replaces measured inspection, correct torque, and a controlled road test.
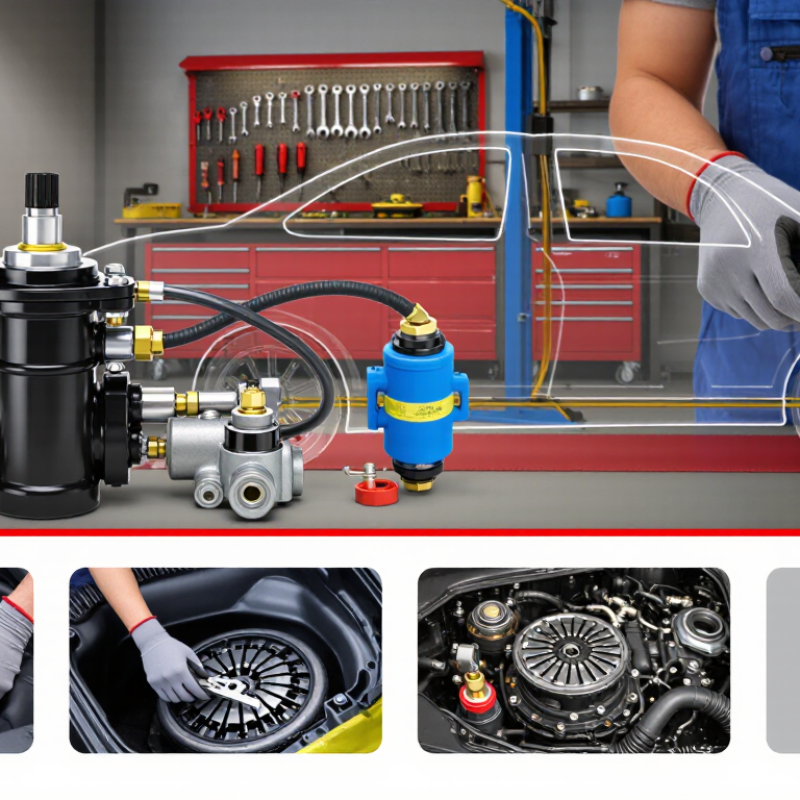
How to Do a Clutch Master Cylinder Replacement in 2026?

Clutch Master Cylinder Function, Symptoms, and Replacement Planning

How to Do a Clutch Master Cylinder Replacement in 2026?

The clutch master cylinder converts pedal movement into hydraulic pressure. This pressure moves the slave cylinder and releases the clutch. When the cylinder wears, gear changes may become difficult or inconsistent.

A soft pedal often indicates air, fluid loss, or internal seal failure. A pedal that slowly sinks deserves immediate inspection.

Check the reservoir, firewall, and carpet near the pedal for damp fluid. However, not every clutch problem starts with the master cylinder. A failing slave cylinder, worn clutch, or trapped air can create similar symptoms.

Replacement planning should begin with the vehicle service manual and the correct fluid specification. Photograph hose positions before disconnecting them. Prepare line wrenches, protective gloves, a catch container, and fresh hydraulic fluid.

Bench-bleeding the replacement cylinder can reduce trapped air, but the bleeding method varies by design. After installation, inspect every connection and test the pedal repeatedly.

The pedal should feel firm, not spongy.

I have seen repairs fail because a small fitting remained loose. That detail is easy to miss.

Tips: Work on a cool vehicle and protect painted surfaces from fluid. Do not force rusty fittings. If the pedal still sinks after careful bleeding, stop driving and reassess the master cylinder, slave cylinder, and hydraulic lines. A short road test should include smooth engagement, reverse selection, and repeated pedal operation. Keep the old part until the repair is confirmed.

Tools, Parts, Safety Measures, and Vehicle Preparation

Before replacing the clutch master cylinder, verify the correct part for your vehicle’s engine, transmission, and production year. Compare port locations, pushrod length, and reservoir shape before opening the package. Prepare flare-nut wrenches, a socket set, a torque wrench, line caps, clear tubing, and fresh approved hydraulic fluid. Keep new seals nearby. Never reuse damaged washers or contaminated fluid.

Park on level ground and engage the parking brake. Support the vehicle with rated stands if access underneath is necessary. Disconnect the battery when nearby wiring could be disturbed. Cover painted surfaces because hydraulic fluid can damage paint quickly. Clean the reservoir area before removing the old cylinder. Follow the service manual’s torque values and bleeding sequence. I once rushed bleeding and left air in the line. The pedal felt soft.

Tips: Photograph the original hose routing. Label each connection. Use caps immediately after disconnecting lines. Pump the pedal slowly during bleeding, and never let the reservoir run dry. Check for leaks around every fitting. A small mirror helps inspect hidden connections. If the pedal remains spongy, stop and reassess instead of driving.

Removing the Old Clutch Master Cylinder

Removing the Old Clutch Master Cylinder

Park on level ground and secure the vehicle with wheel chocks. Read the service manual before touching the hydraulic system. It shows the cylinder’s mounting points, fluid type, and pedal connection. Protect painted surfaces with thick plastic and clean towels. Clutch fluid can damage paint quickly.

Use a syringe to remove fluid from the reservoir, then place a drain pan below the cylinder. Loosen the hydraulic line carefully with the correct flare-nut wrench. Ordinary pliers may round the fitting. Cap the line after removal to limit contamination and dripping. Inside the cabin, disconnect the pushrod from the clutch pedal. Remove its retaining clip, then take off the mounting nuts from the firewall. Support the cylinder with one hand while removing the final nut. It may feel stuck. Do not twist the line to force it free.

Tips: Photograph the pedal linkage before disassembly. Check the firewall for cracks, rust, or damp fluid marks. A wet carpet can indicate an older leak. Keep removed clips in a small container. I sometimes rush this step, and that creates avoidable confusion later. Inspect the replacement cylinder beside the old one before installation. The ports, rod length, and mounting pattern should match. If they do not, stop and verify the part information. Never reuse damaged seals or a crushed line fitting.

Installing and Connecting the Replacement Cylinder

Installing and Connecting the Replacement Cylinder

Before installation, compare the replacement cylinder with the removed unit. Check the mounting holes, pushrod length, reservoir angle, and hydraulic port position. A small mismatch can create a serious clutch problem. Protect painted surfaces with thick cloth because clutch fluid damages paint quickly. Wear gloves and keep the work area clean. Dirt inside the hydraulic system can make bleeding frustrating.

If required, bench-bleed the cylinder according to the service manual. Some cylinders need this step, while others do not. Fill the reservoir with the specified fluid. Do not mix fluids. Position the cylinder against the firewall, then start each mounting nut by hand. Tighten the fasteners to the recommended torque. Avoid guessing. I once relied on feel, and the mounting bracket flexed slightly afterward.

Connect the hydraulic line carefully. Thread it by hand before using a flare wrench, and never force a cross-threaded fitting. Confirm the pushrod sits correctly on the clutch pedal pin. Add the retaining clip if fitted. Bleed the system until the fluid runs clear and bubble-free. Keep the reservoir from running dry. Press the pedal slowly during bleeding. A firm pedal should return consistently. Inspect every connection with a flashlight, then check for seepage after several pedal presses. If the pedal feels soft, stop and find the cause before driving.

Bleeding, Testing, and Troubleshooting the Clutch System

Replacing a clutch master cylinder is only half the repair. Bleeding the system correctly determines whether the new cylinder can build pressure. Use the specified hydraulic fluid from the vehicle manual, and keep dirt away from the reservoir. Air often hides near the highest point in the line. Open the bleeder slowly while an assistant presses the pedal gently. Close it before the pedal returns. Repeat until the fluid runs clear and bubble-free. Never let the reservoir become empty.

I check the pedal after bleeding. It should feel firm, return smoothly, and engage the clutch within a predictable range. With the engine off, select each gear several times. Then start the engine and test reverse on level ground. A creeping vehicle suggests incomplete disengagement. A soft pedal usually means trapped air, a loose connection, or a leaking seal. Fluid around the master cylinder pushrod deserves immediate attention.

One mistake I still remember was bleeding too quickly. The pedal looked better, but air remained in the upper line. I also learned that pedal feel alone can mislead. Temperature, linkage wear, and clutch adjustment can change the result. If pressure fades while holding the pedal, inspect the master cylinder and hydraulic joints. If bleeding does not improve engagement, stop replacing parts blindly. Recheck installation depth, line routing, and the slave-cylinder movement. A short road test should include gentle starts, shifting, and repeated stops. The system must remain quiet, consistent, and leak-free.

FAQS

How should the vehicle be prepared before removing the clutch master cylinder?

Park on level ground and secure the wheels with chocks. Read the service manual before opening the hydraulic system. Cover painted surfaces with thick plastic and clean towels.

How can clutch fluid spills be controlled during removal?

Use a syringe to empty the reservoir. Place a drain pan below the cylinder. Cap the disconnected hydraulic line to reduce dripping and contamination.

Which tool should loosen the hydraulic line fitting?

Use the correct flare-nut wrench. Pliers may round the fitting. Do not twist the line when the fitting feels stuck.

What should be checked before removing the cylinder completely?

Photograph the pedal linkage before disconnecting it. Remove the retaining clip and mounting nuts carefully. Support the cylinder while removing the final nut.

What signs may reveal an older clutch hydraulic leak?

Inspect the firewall for cracks, rust, or damp marks. A wet carpet near the pedal can indicate leakage. Fluid around the pushrod needs attention.

How can a replacement cylinder be checked before installation?

Compare the old and replacement cylinders side by side. Check the ports, pushrod length, and mounting pattern. If they differ, stop and verify the part information.

What is the correct way to bleed the clutch hydraulic system?

Use the specified fluid and keep dirt away from the reservoir. Open the bleeder slowly while an assistant presses the pedal gently. Close it before the pedal returns.

How can trapped air and poor bleeding be identified?

Continue bleeding until the fluid appears clear and bubble-free. Never let the reservoir empty. I once bled too quickly, and air remained near the upper line.

What does a soft or fading clutch pedal usually indicate?

Possible causes include trapped air, a loose connection, or a leaking seal. If pressure fades while holding the pedal, inspect the cylinder and hydraulic joints.

How should the repaired clutch system be tested?

With the engine off, select each gear several times. Then test reverse on level ground. A creeping vehicle suggests incomplete clutch disengagement. Stop if the system remains inconsistent or leaks.

Conclusion

This guide explains how to plan and complete a Clutch Master Cylinder Replacement in a careful, practical way. It begins by describing the clutch master cylinder’s role in converting pedal movement into hydraulic pressure, along with common warning signs such as a soft or sinking pedal, difficulty shifting, fluid loss, or inconsistent clutch engagement. Before starting, readers will learn how to select the correct replacement part, gather essential tools, protect surrounding components, and prepare the vehicle safely on a stable surface.

The article then covers how to remove the old cylinder, disconnect hydraulic lines without unnecessary damage, and install the replacement with secure connections and proper alignment. Finally, it explains how to refill the hydraulic system, bleed trapped air, inspect for leaks, and test clutch operation. A troubleshooting section addresses common issues, including a spongy pedal, incomplete disengagement, and continued fluid loss, helping ensure the system operates smoothly and reliably after the repair.

Madeline

Madeline

Madeline is a dedicated marketing professional with a wealth of expertise in our company's core offerings. With a keen understanding of the industry, she brings a unique perspective to her role, consistently delivering high-quality content that highlights the superior aspects of our products. As......